
We will pre-cache the result of this report
Steps
1. Create a text file to purge all cache and then create a new cache from the Sales presentation table. Lets call the file SalesCache.txt. The contents of the file are
Call SAPurgeAllCache();
select SALES.* from foodmart;
The first line purges all cache and the second line creates the cache for all columns of the Sales table.
2. run this command from the command line
nqcmd -d FoodMartBI -u Administrator -p [password] -s [pathToCacheFile]/SalesCache.txt
3. Open the Administrator tool. click on Manage-> Cache. The cache created is visible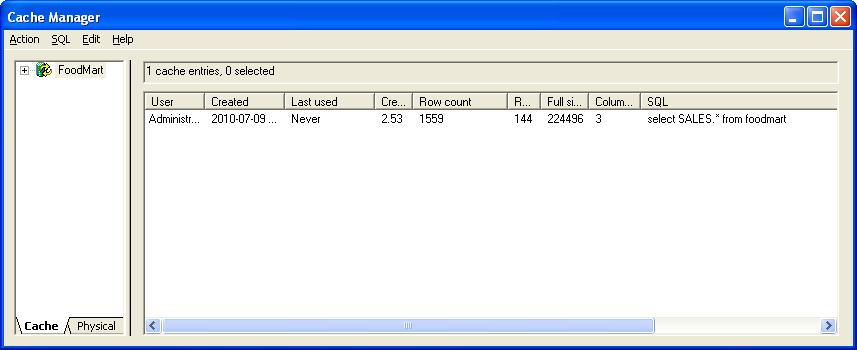
4. Create a new report using answers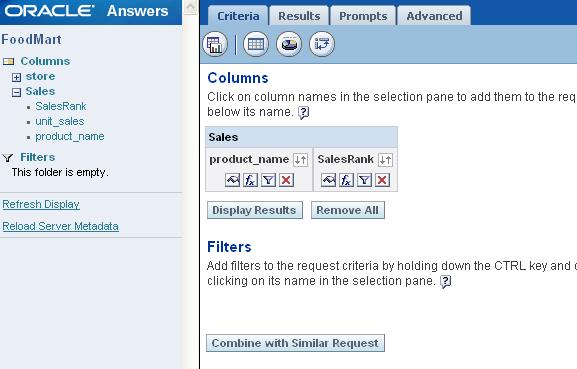
View the results of the report. Since the report has columns that are part of the cache, the results should have been obtained from the cache. To verify, open the Cache management dialog again and look at the last used timestamp of the cache that we have created. The timestamp should have been updated with the time when the new report was viewed.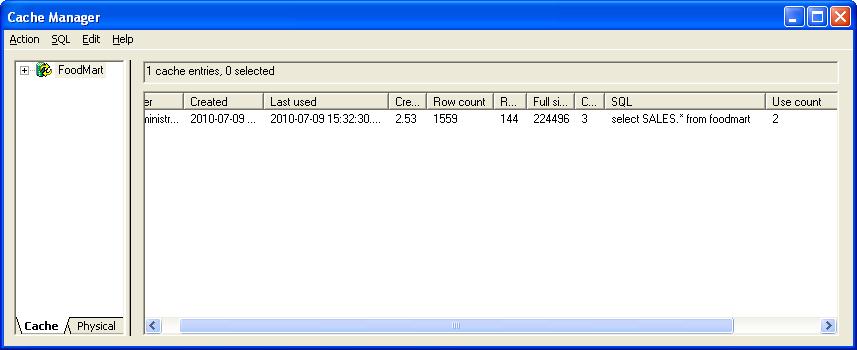
Also the ‘Use count’ number will be incremented by one.
Next, let us see how to disable caching for a physical table. Lets disable caching for the sales_fact_1997 table. right click on the table in the physical layer and go to the general tab. unselect the checkbox that says ‘cacheable’. now run the SalesCache.txt file again. Open the cache manager. Notice that no cache is created.